How to take good product photos at home
6 min read
You don't need a studio or a DSLR to get a clean product shot. You need a window, a sheet of paper and a few rules we walk through below.
Good product photos at home come down to three things: soft window light, a clean background and a phone that doesn’t move. You don’t need a DSLR, a lightbox or a studio strobe. You need a window, a sheet of poster board and about fifteen minutes. Here’s how to set it up — and where a home setup stops being enough.
Light: use a window, not a bulb
The most common mistake is shooting at night under a ceiling light. The light comes straight down, flattens the product, drops a hard shadow underneath it and tints everything orange. The photo looks like it was taken in someone’s kitchen — because it was.
Put your table beside a window, not facing it and not backed against it. Side light builds shape: one side of the product is brighter, the other is darker, and the gradient between them is what your eye reads as three-dimensional. Light from the front (window behind you) gives you a flat, scanned look. Light from behind turns your product into a silhouette.
The best conditions are an overcast day or a window that isn’t getting direct sun. Clouds act as a giant diffuser: soft shadows, honest colors. If harsh sun is coming through, tape up a white sheet, a shower curtain or tracing paper. Direct sun makes shadows so hard that texture disappears — knitwear stops reading as knit, and a matte finish stops reading as matte.
A reflector that costs nothing
On the shadow side of the product — the one away from the window — stand up a plain sheet of white paper or foam board. It bounces light back and opens up the shadow. This is the single cheapest upgrade available to you, and it changes the shot more than switching from a phone to an expensive camera would. Aluminum foil on cardboard bounces harder and with more contrast, which often suits jewelry better than white.
One light source only. Never mix window light with a lamp. Two sources at different color temperatures produce a photo you can’t white-balance correctly — half the frame goes blue, the other half goes orange. Turn every light in the room off and shoot with the window alone.
Background: it should disappear
A background has exactly one job — to stay out of the way. For your main image, the one that shows up as a thumbnail in search results on Etsy or Amazon, plain white or very light gray works best. A sheet of poster board curved from the table up to the wall gives you a seamless sweep with no visible corner — the same trick studios use, scaled down to a desk.
For your secondary, lifestyle shots the background can tell a story: raw wood, linen, stone, pale concrete. Just keep one rule — the background must not compete with the product in color or texture. A patterned cloth under patterned packaging gives you two things shouting and no hero.
What to avoid:
- Glossy surfaces — they reflect the ceiling, the window and you holding a phone.
- Creases — on a white sweep every fold catches a shadow and reads as dirt. Store poster board rolled, never folded.
- Clutter at the edges — a cable, a mug or a power outlet in the corner will sink an otherwise good shot.
Your phone: four settings that matter
Any recent phone has more than enough sensor for a storefront and social media. The problem is almost never the hardware — it’s that the camera keeps making decisions for you.
- Wipe the lens. It sounds trivial, and it’s the number one cause of soft, hazy photos. Your phone lives in a pocket next to your keys, and finger grease scatters light.
- Lock focus and exposure. Press and hold on the product until AE/AF lock appears. Without it, the camera re-meters between shots and your set comes out at different brightness levels — which is exactly what makes a product grid look inconsistent.
- Don’t pinch to zoom. Digital zoom is just a crop with detail thrown away. Move closer, or use the dedicated telephoto lens (the “2×” or “3×” button) if your phone has one.
- Skip portrait mode. Artificial background blur eats edges — mug handles, thin chains and stray threads either vanish or get chewed up at the boundary. For products you want the whole thing sharp.
Rest the phone on something solid — a tripod, a stack of books — and fire with the timer or a volume button. That removes shake, which in dimmer light is the difference between sharp and “almost sharp,” a distinction that only shows up once someone zooms in.
How many shots you actually need
One image doesn’t sell. A buyer who can’t hold the item rebuilds it in their head from a series. The minimum set:
- Hero shot — the whole product on a light background, filling roughly 80% of the frame. This is the one that earns the click.
- Detail — a seam, a clasp, the grain, the label. It answers the unspoken question about quality.
- Scale — the product in a hand or next to something familiar. Size confusion is the leading cause of returns.
- In use — the cream on a bathroom shelf, the candle on a table, the garment on a person. This shot sells context rather than an object.
Finally, crop everything to one aspect ratio (square or 4:5), straighten it and lift the background if it came out gray. Ten minutes in your phone’s built-in editor usually covers it — Photoshop is not required.
Where a home setup stops being enough
Everything above works, and we have no interest in pretending otherwise. For one product, or five, it’s the cheapest and best route available. The trouble starts elsewhere, and it’s a problem of scale, not skill.
At forty products a home shoot falls apart for three reasons. First, the light moves: shots taken at 11am and at 4pm have different color and different shadow direction, and a product grid exposes that instantly. Second, you can’t reproduce the setup — nudge the table four inches and the next batch no longer matches the last one. Third, time: four angles across forty products is over a hundred images to shoot, cull and edit. That isn’t an evening, it’s a weekend.
And then there’s the shot you usually can’t get at home at all: the product in context. A serum on a marble shelf, a candle in a styled room, a dress on a model outdoors. That needs a set or a photographer — budget and logistics that rarely pencil out for a small brand.
How we solve this in Renvido
Renvido takes your ordinary product photo — including the one shot on a phone on your kitchen counter — and turns it into a frame that looks like it came from a shoot: the product styled, with lighting and a background chosen to match your brand. The key difference from a home setup isn’t that it looks nicer. It’s that it’s repeatable: forty products get a consistent set, because that set no longer depends on what time of day it was or which way the light happened to fall.
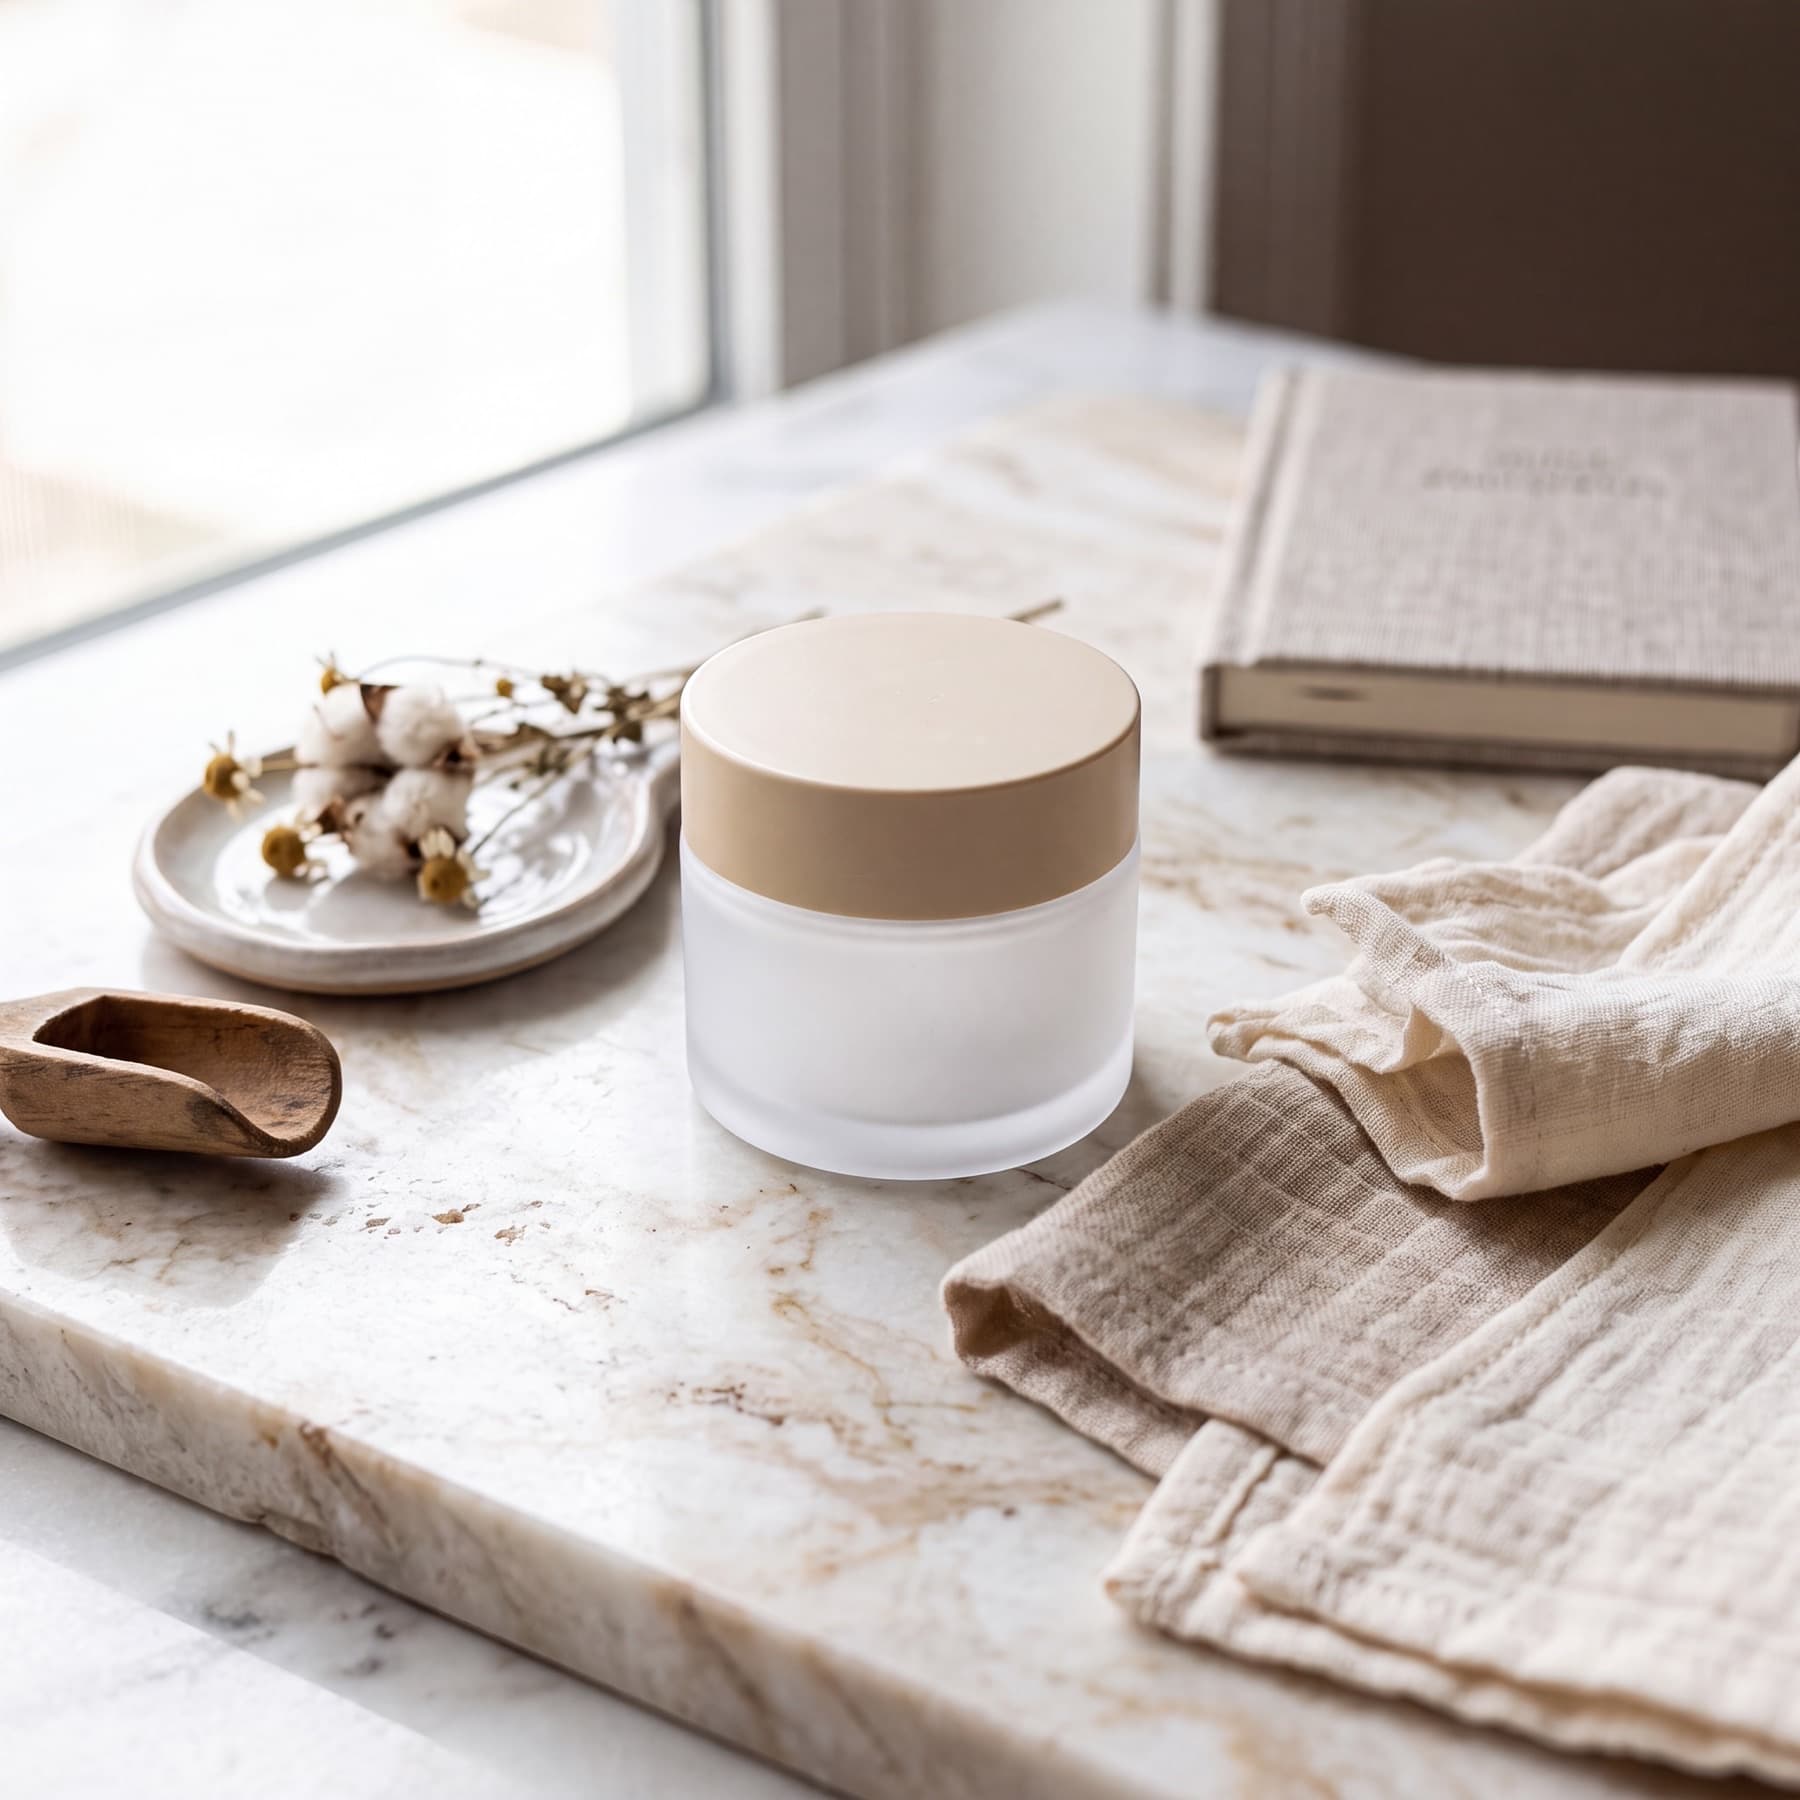 Renvido photo
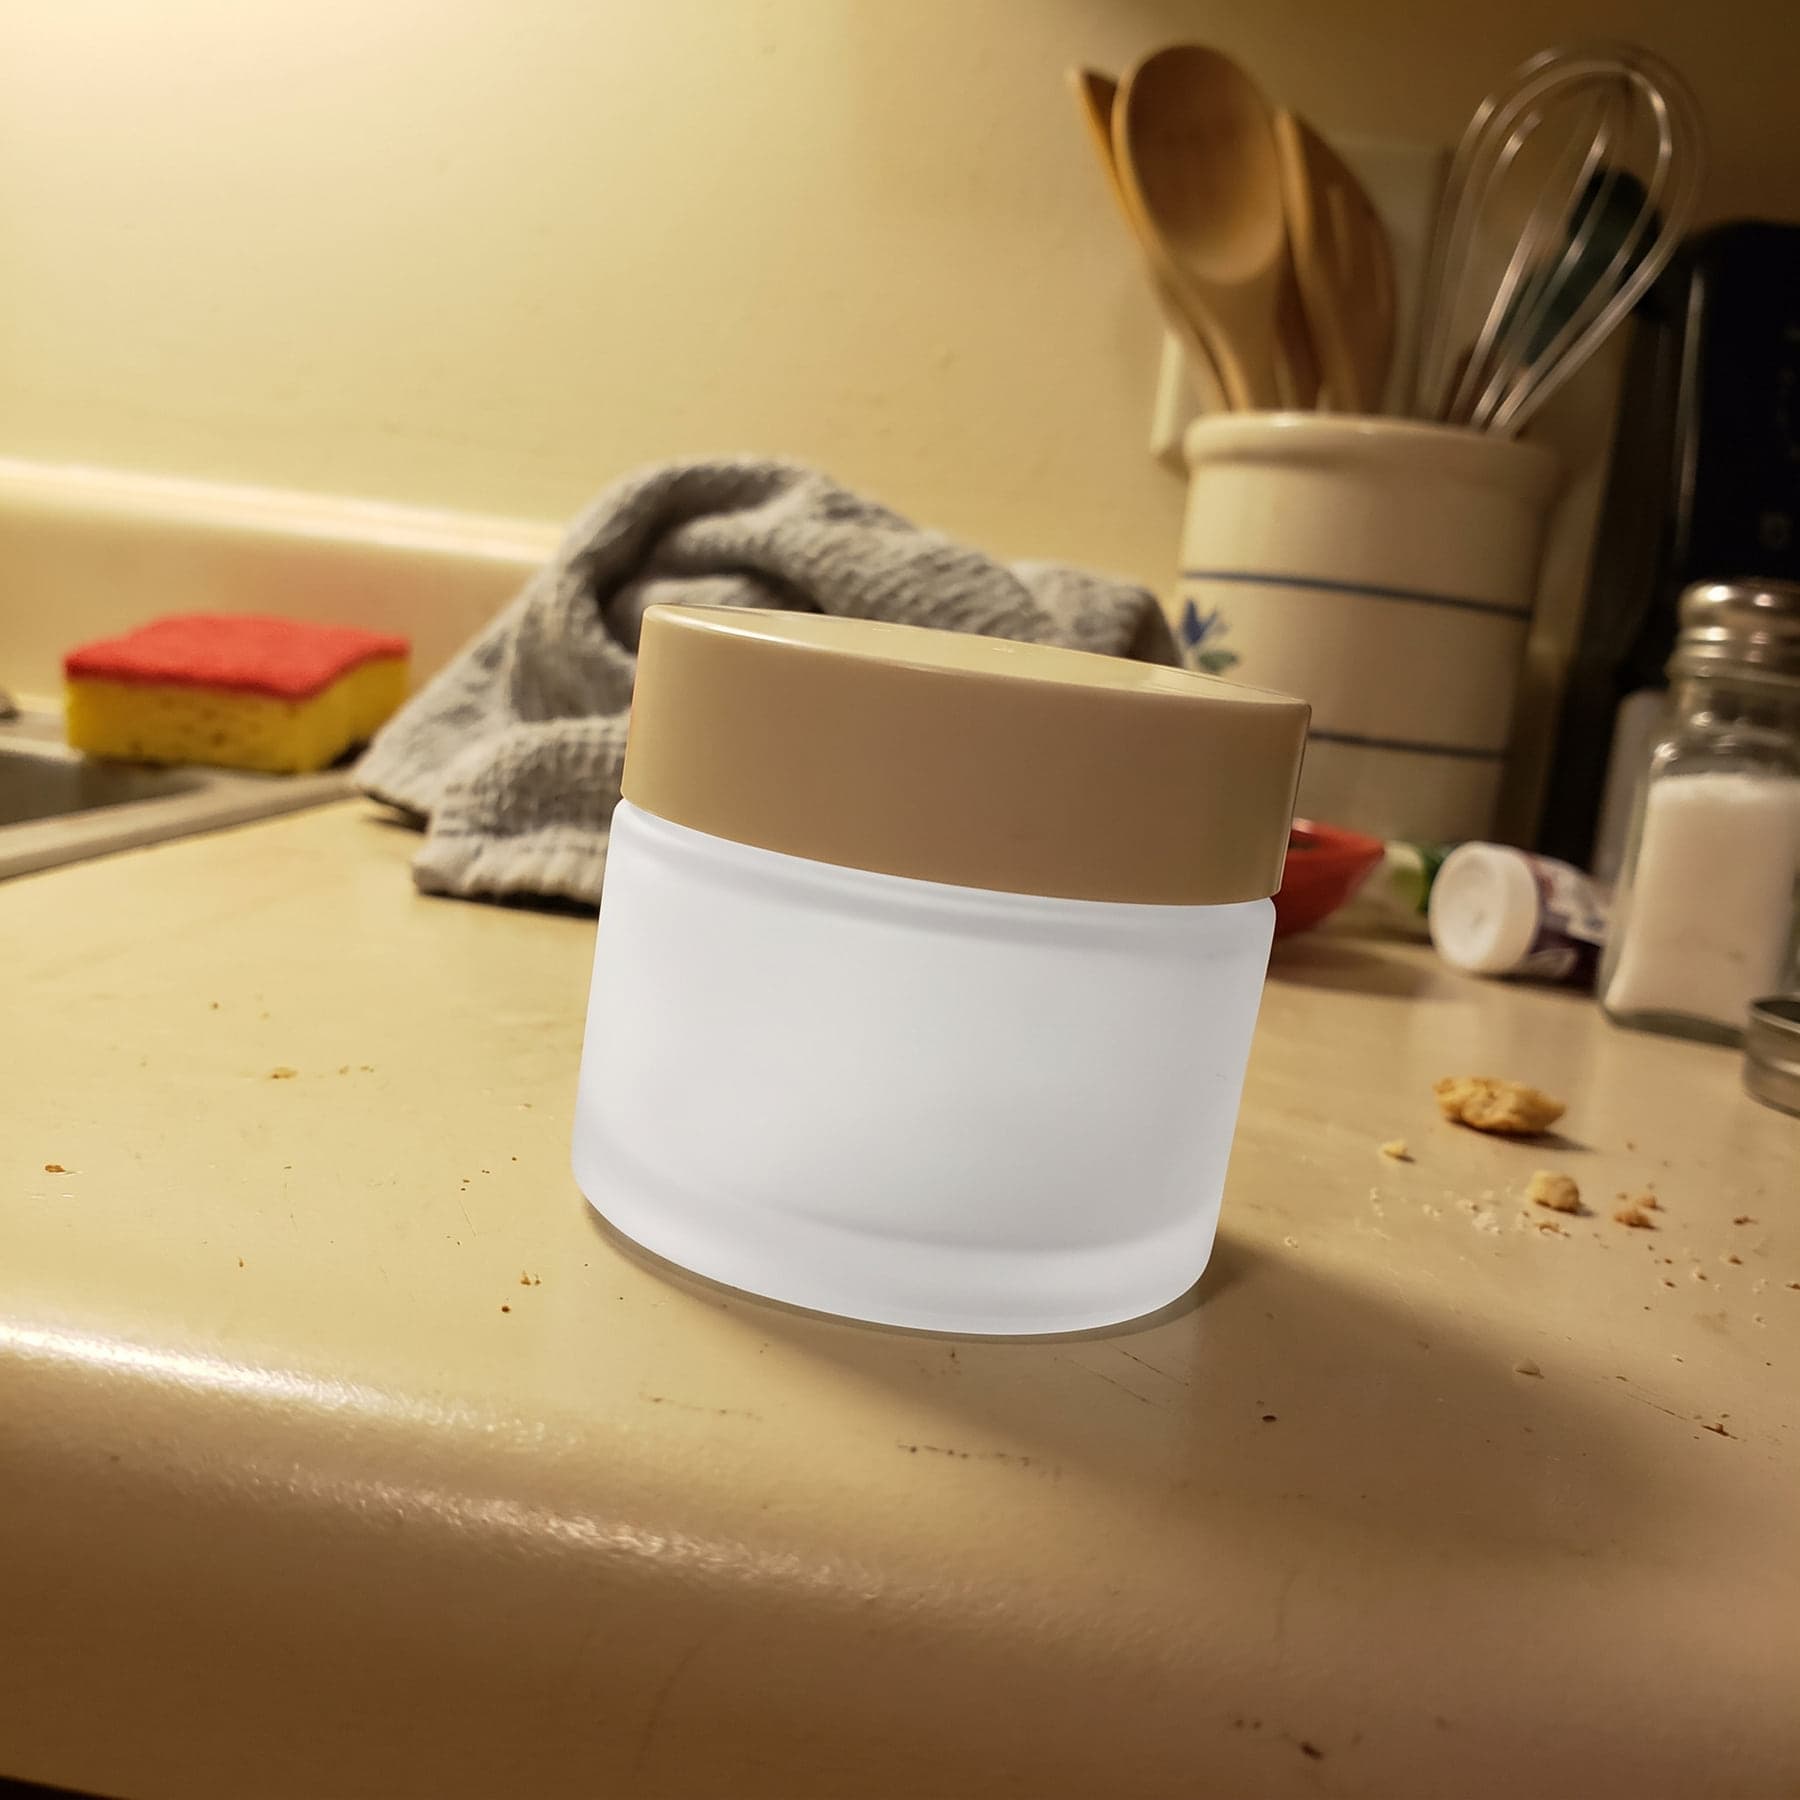 Phone photo
This isn’t limited to apparel. Cosmetics, ceramics, jewelry, food, home goods, woodwork — each category has its own rules for framing and light, and each is handled on its own terms.
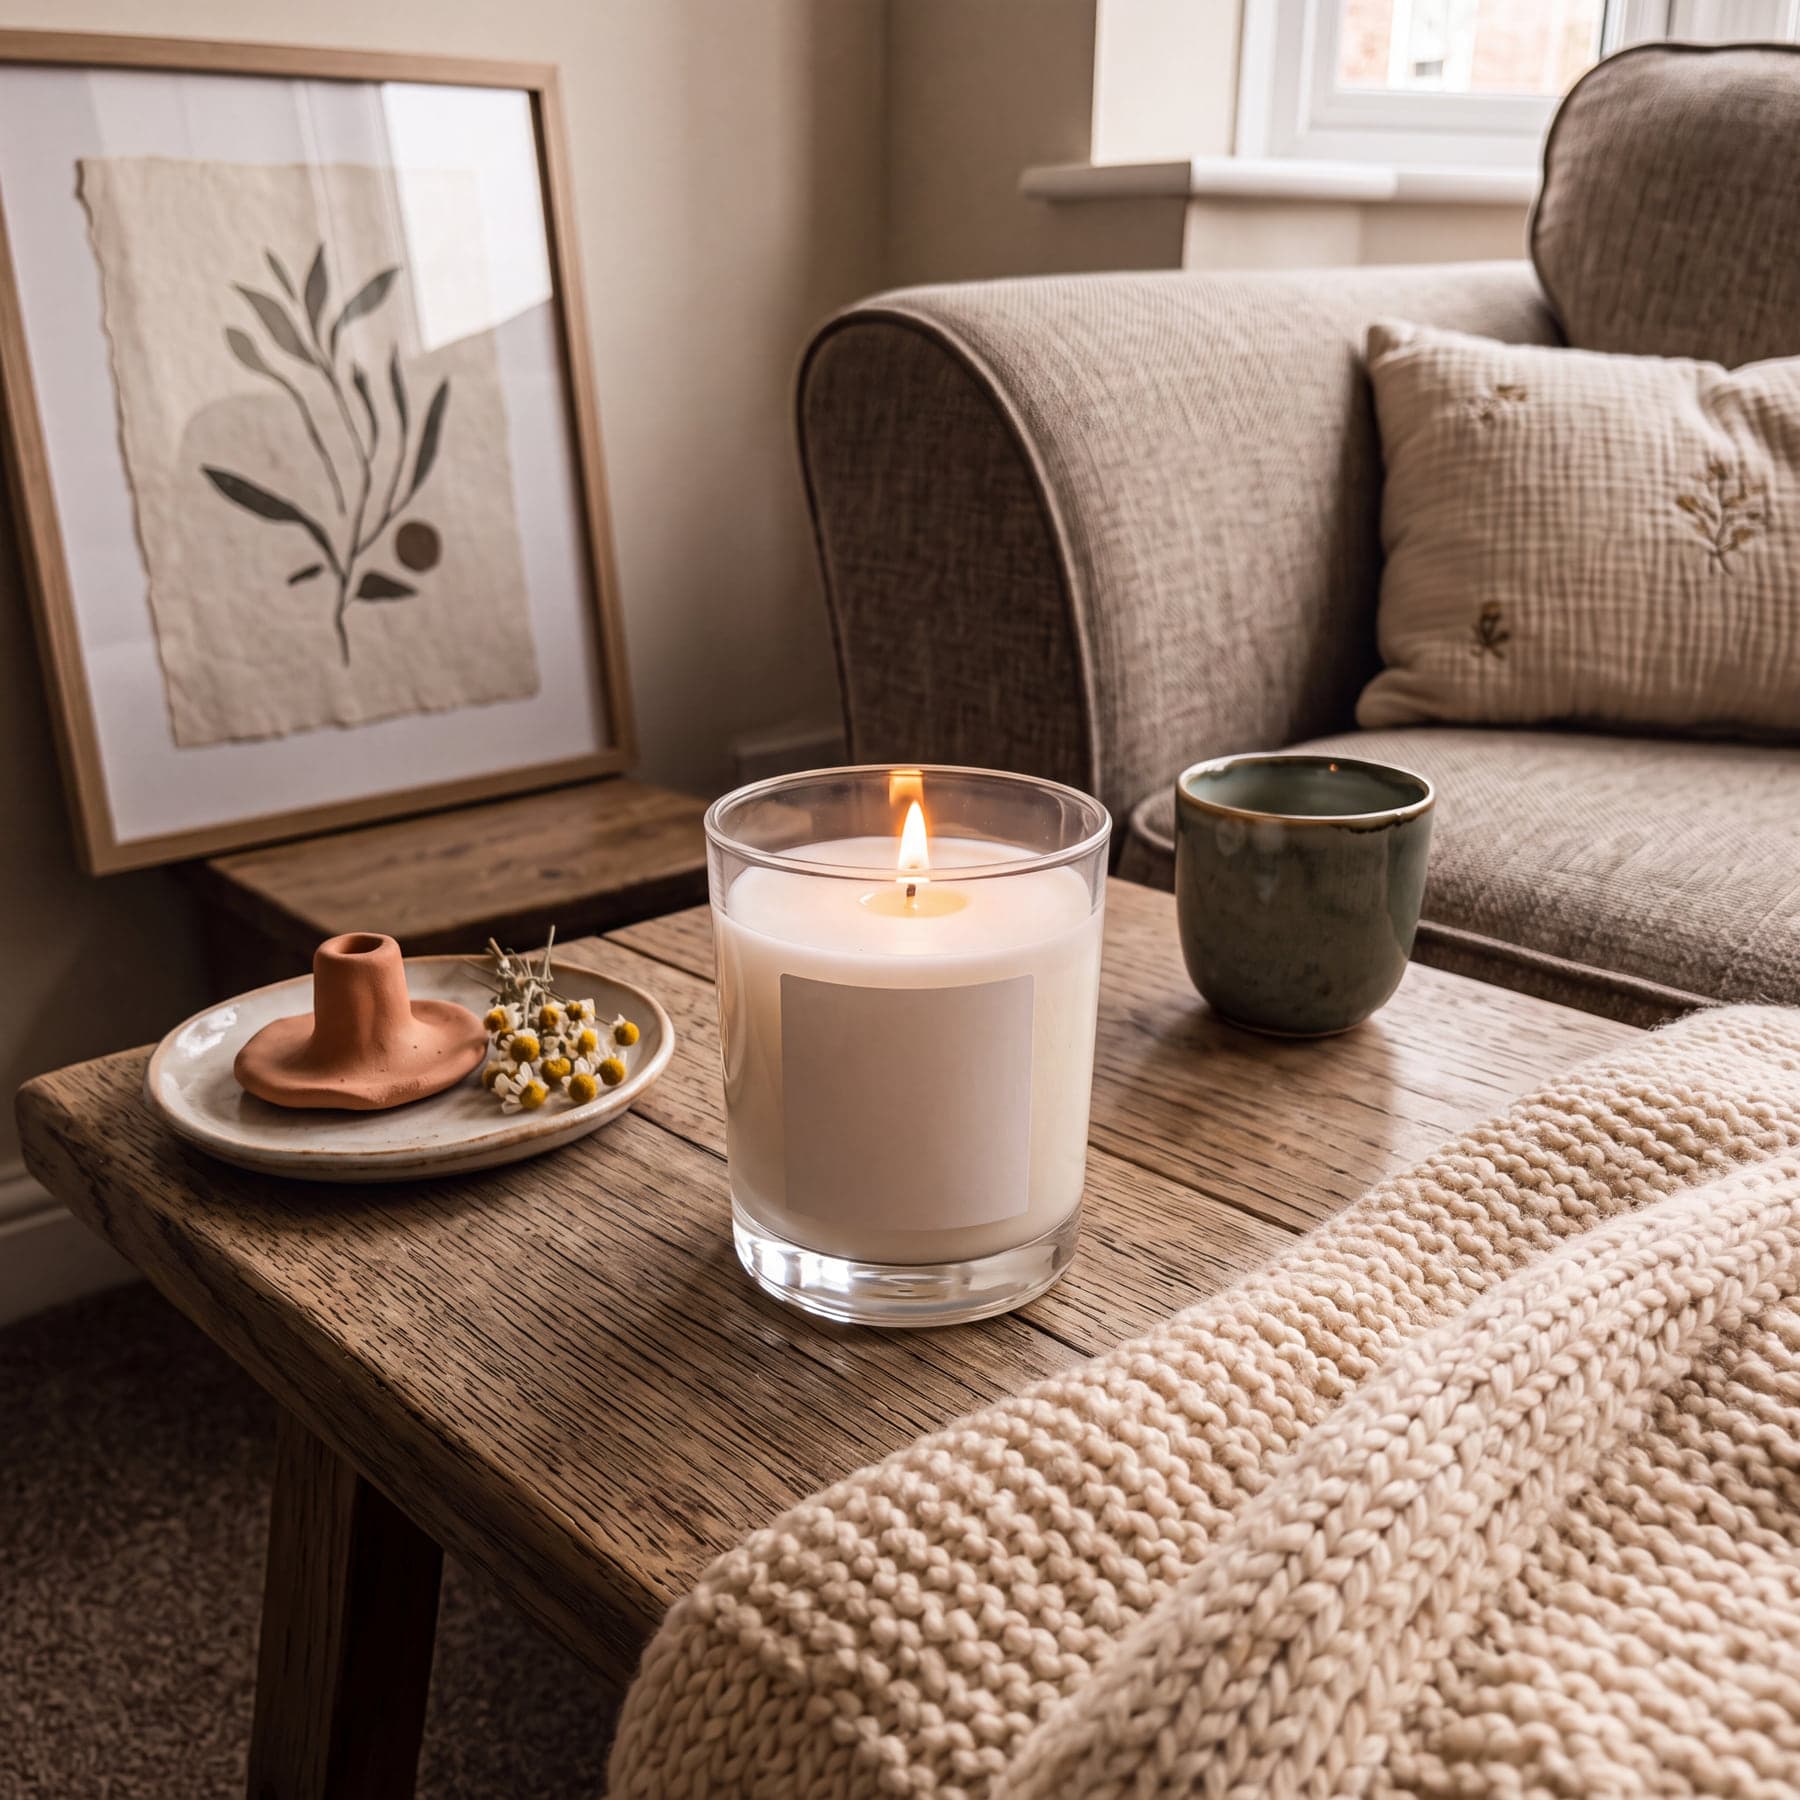 Renvido photo
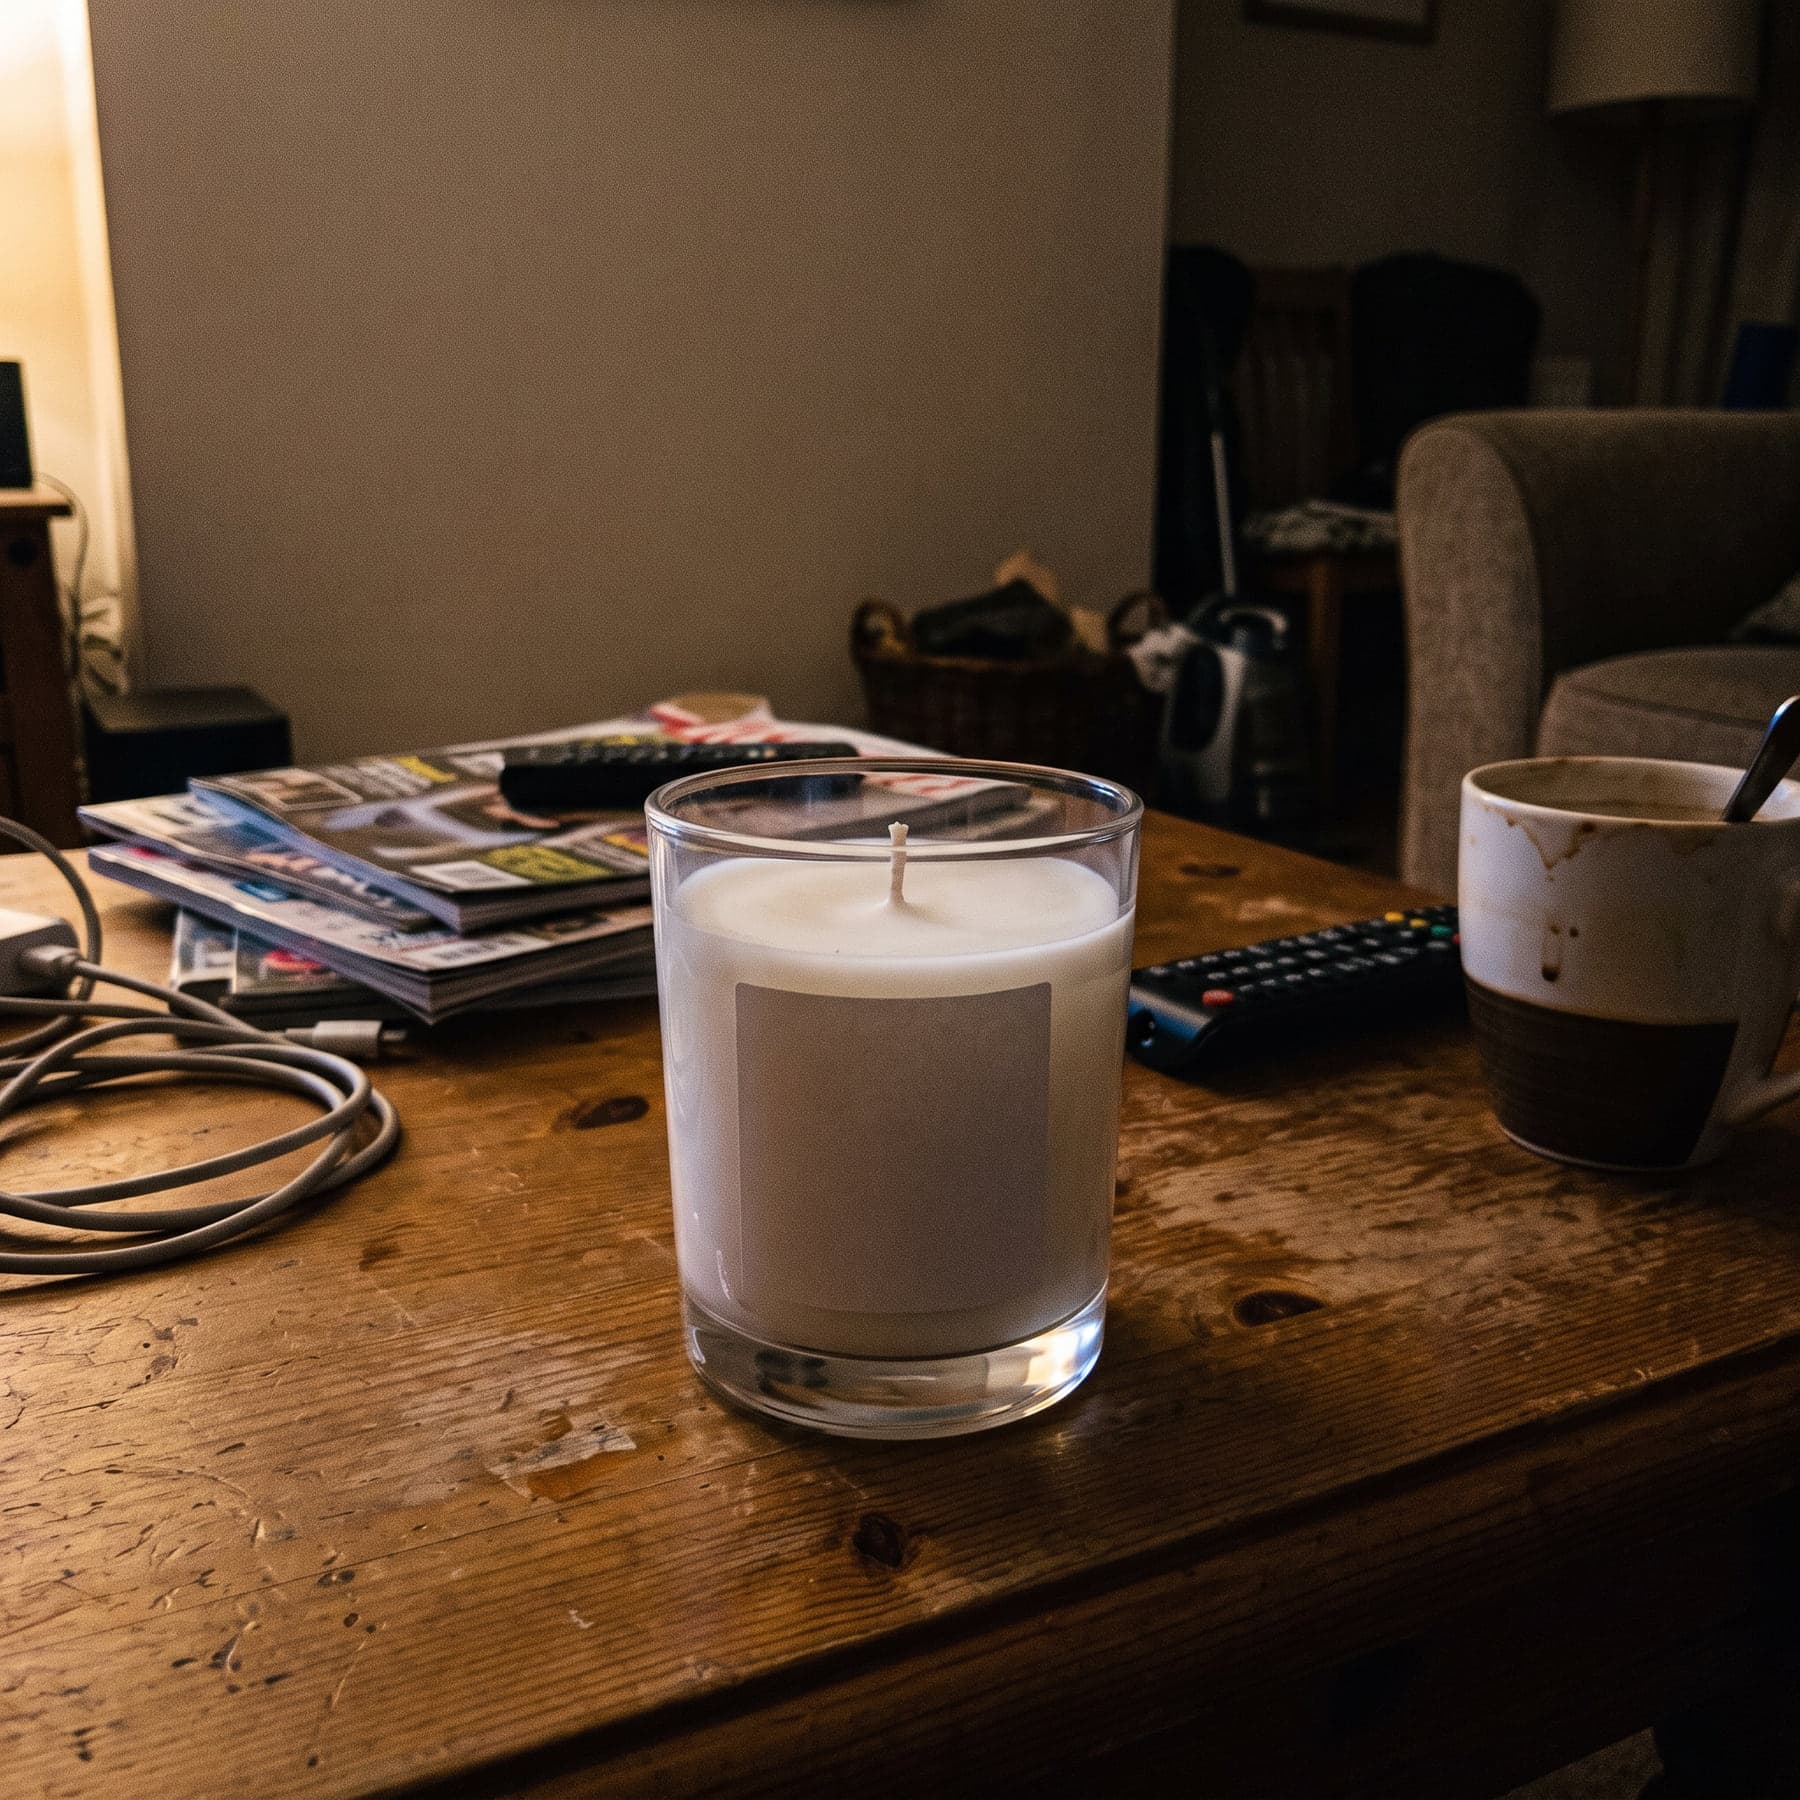 Phone photo
There’s one more thing that’s easy to forget when you’re planning photography: a photo is only half a post. A finished publication also needs a caption in your brand’s voice and a graphic in your colors. Renvido produces all three in one pass, so you don’t end up with a folder of nice files and an empty caption box.